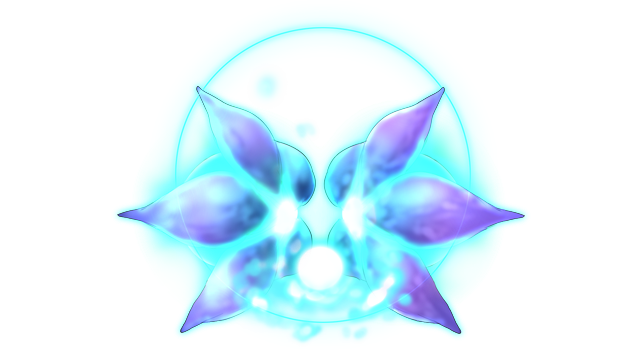
Blue Orchid

This page explains the strategies employed against Blue Orchid on its boss fight. This includes party composition, which spells to use offensively and defensively, and how the battle should flow, which attacks to watch out for, etc. Since strategies vary greatly from route to route, explanations will be separated accordingly.
Quick Summary
Blue Orchid is a mandatory boss fight to recruit Utsuho. This fight is easily cheesed with the HVY ailment, since it halves the boss’ DEF from an absurd 3600 down to a more manageable 1800. Normally you would need to wait for it to shed its DEF, but we can ignore that and just hit it until it dies anyway with its defense halved.
Quick Links
AI Script
- Odd turns, except turn 1:
- Shell Melter
- Other turns:
- 20% chance to either:
- Dissolvent (A)
- Paralyzing Fog
- Azure Arrow (B)
- Storm of Blue Rain
- Acid Rain
- 20% chance to either:
Attack List
- Dissolvent
- NTR spell targetting DEF, high damage and will debuff DEF/MND by 50%
- Paralyzing Fog
- AoE WND spell targetting MND, low damage but can PAR entire party
- Azure Arrow
- CLD spell targetting MND, deals good damage if weak to CLD
- Storm of Blue Rain
- AoE CLD spell targetting MND, deals good damage if weak to CLD
- Acid Rain
- AoE NTR spell targetting MND, high damage and will debuff your DEF/MND
- Shell Melter
- Reduces the Blue Orchid’s defenses by 300, has zero delay
Strategies
Ame-no-Murakumo (NG)
This fight would normally be very hard to deal with, thanks to the boss’ absurdly high DEF and MND. We would need to wait until its 3rd or so Shell Melter turn to be able to damage it consistently. But since by this time we have access to subclasses, we can make some character a Toxicologist and use the subclass’ skill to get a 100% proc rate HVY on the boss, cutting its DEF in half. Paired with the damage boosts we get from skills, we can deal a severe amount of damage to the boss before it even gets to its first Shell Melter.
The front line consists of Kasen / Wriggle / Aya / Parsee, with Nitori on the back line. Kasen and Parsee do their TRR combo, thanks to the boss’ 0 TRR resistance, and Wriggle applies HVY before the fight even starts with Aya’s help in Divine Grandson’s Advent. Aya helps manipulate turn order as Parsee and Kasen deal massive damage. The important skills for this fight are:
- Gensokyo’s Fastest Lessons on Aya so she can DGA Wriggle turn 1
- Enhanced Toxins on Wriggle so HVY stays for a bit longer
- Maintenance on Nitori for obvious reasons
- Kappa’s Ecology Observation on Nitori for 10/20% damage boost to the entire front line
- Parsee’s Flames of Jealousy for 30% extra damage for her and Kasen
- Parsee’s Final Blow for 32% extra damage on Jealousy of the Kind
If you stack the damage bonus skills, Kasen gets a 56% boost on Higekiri’s Cursed Arm, and Parsee a 105.92% boost on Jealousy of the Kind, and since the Orchid has 0 TRR resistance, Kasen is guaranteed to TRR every hit, allowing for the easy TRR combo to deal massive damage. Very few things can go wrong during this fight, the flowchart is very consistent:
- Aya DGA on Wriggle
- Wriggle Numbing Incense
- Kasen Higekiri
- Parsee Jealousy of the Kind
- Wriggle self swaps for Nitori
- Aya DGA on Parsee
- Parsee Midnight Anathema Ritual
- Kasen Higekiri on loop
- Parsee Jealousy of the Kind
- Nitori immediately Super Scope
- Aya buffs Kasen’s SPD